The print itself is often the shortest step in producing a finished 3D printed part. For visual models, presentation pieces, and any part destined to be painted or shown to a customer, the time spent on the bed is significantly less than the time spent at the workbench afterwards. Post-processing is not glamorous, but it is the difference between a part that looks 3D-printed and one that looks like a finished product.
The basic finishing sequence
A typical full finishing pass for an FDM print involves a predictable sequence. Each step has a purpose and most can be done with simple workshop tools.
De-burring. Remove support material residue, brims, and any obvious stringing with a small set of files and a sharp blade. This is faster than it sounds and prevents later steps from being undermined by a missed seam.
Initial sanding. Sand the surfaces that will show, starting at 240 grit and working up to 600 or 800 depending on the desired finish. For curved surfaces, foam sanding pads conform better than rigid blocks. Wet sanding from around 400 grit upward reduces dust and produces a smoother result.
Filler primer. A spray-applied filler primer (sometimes called automotive high-build primer) fills the worst of the residual layer lines. One generous coat, allowed to cure properly, often does more work than several thin coats of regular primer.
Sand the primer back. Sand from 400 to 800 grit to remove the high points and reveal where more filler is needed. This is the step that separates an amateur finish from a professional one. Repeat the primer/sand cycle until the surface is uniform.
Top coat. Two or three thin coats of the final colour, with light sanding (1200 grit or finer) between coats. A clear coat at the end, if desired, adds depth and protects the paint.
Resin prints are different
Resin (SLA, DLP) prints have a smoother starting surface than FDM, but they also have specific post-processing requirements that FDM does not. The print needs washing in isopropyl alcohol or a vendor-recommended cleaner to remove uncured resin, followed by UV post-curing to reach full mechanical strength. Skipping or rushing these steps produces parts that remain sticky or weak.
After curing, resin prints sand and paint with most of the same techniques as FDM, but the starting surface is smoother and the finishing time is significantly shorter.
Architectural and presentation models
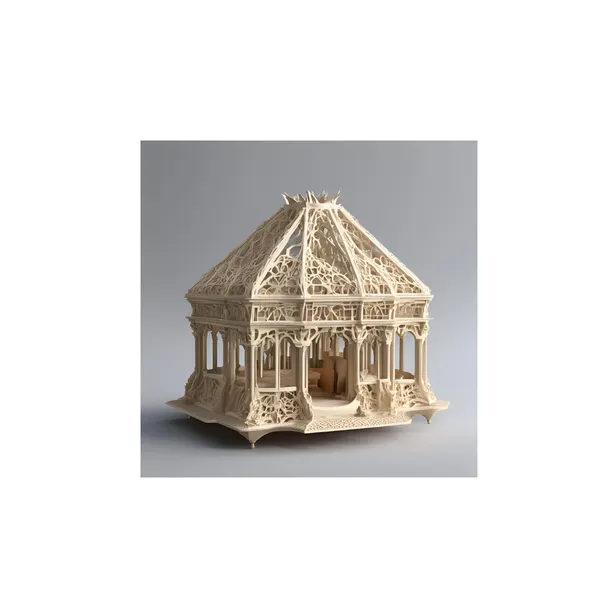
For studios producing models that will be seen alongside photorealistic architectural renders, the finishing quality of the physical model matters as much as the render quality. A pristine print with visible layer lines next to a polished render looks unfinished. The investment in a proper post-processing pass produces a presentation package where the model and the render reinforce each other.
Safety and ventilation
Spray priming and painting need ventilation, eye protection, and a mask appropriate to the material. Resin handling needs gloves and skin protection. Workshops doing regular finishing work benefit from a dedicated spray booth, even a small homemade one with a fan and a filter, more than they often expect.
Common finishing mistakes
Three mistakes account for most disappointing finishes. Rushing through the sanding (the surface looks fine until the primer hits it and reveals every missed scratch). Applying paint too thick (it pools, runs, or hides the geometry you spent time refining). Skipping cure time (touching a recently sprayed surface ruins it permanently). All three are about patience rather than technique.
When to outsource finishing
For boutique work, finishing in-house makes sense. For larger volumes, or where the finished appearance is critical, a print service that offers full finishing as part of the job often produces better results than an in-house team learning on the job. The combined cost is usually competitive once the time of an untrained finisher is properly counted.
The bottom line
Post-processing is where a 3D print becomes a product. The technique is not difficult, but it does take more patience than the print itself. A consistent sanding, priming and painting workflow, applied carefully, transforms what comes off the bed into something that earns a place in a finished presentation.
If you are finishing cosplay armour or props, our cosplay 3D printing page covers choosing a material, finish and infill for parts you plan to paint.