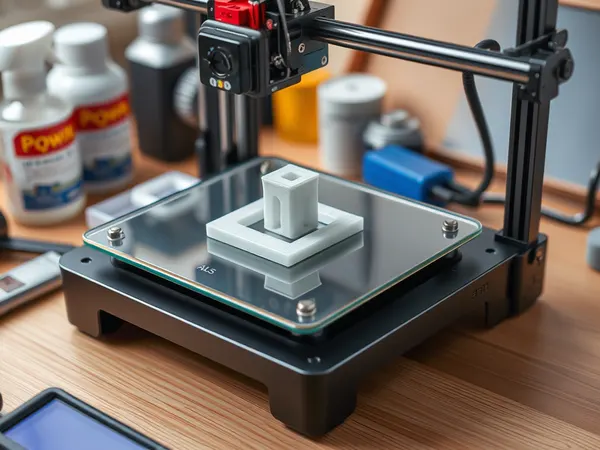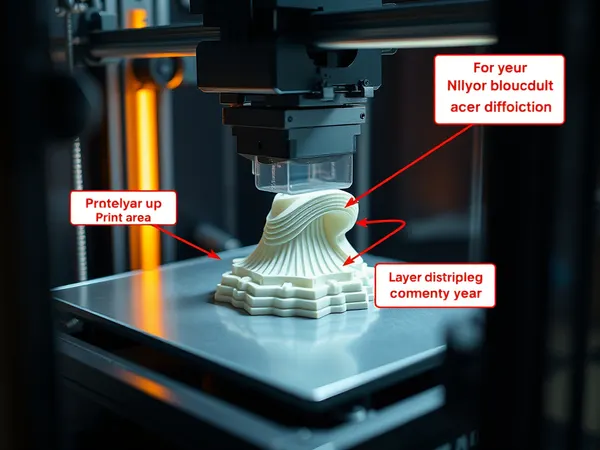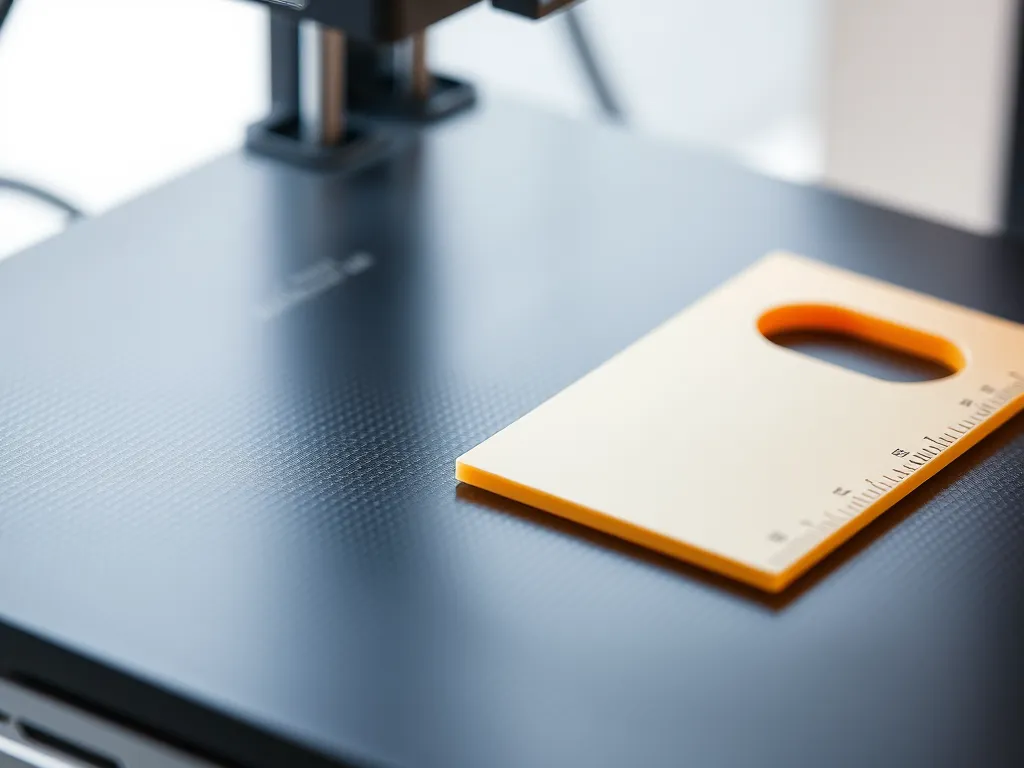
Most failed prints go wrong in the first few minutes. If the first layer is squashed flat in one corner, barely touching the bed in another, or peeling up in the middle, the problem is usually bed leveling: the distance between the nozzle and the bed is not the same everywhere.
This guide explains what bed levelling is, the different ways printers do it, and how to diagnose and fix the problems that come up most often.
What bed levelling actually means
Bed levelling (also called tramming) is making sure the nozzle sits the same small distance above the bed at every point the print head can reach. It has nothing to do with a spirit level: what matters is that the bed is parallel to the path the nozzle moves along, not to the floor.
That distance sets the first layer. Get it right and the first layer is pressed evenly onto the bed, sticks well and gives every layer above it a flat base. Get it wrong and you see poor adhesion, rough or gappy first layers, warping, and in bad cases a nozzle dragging across the bed.
The four ways printers level the bed
Manual levelling
The bed sits on adjustment screws, usually one at each corner. You move the nozzle over each screw in turn and adjust until a sheet of ordinary paper slides between nozzle and bed with a slight drag. Go round the corners two or three times, since adjusting one corner affects the others. Level with the bed and nozzle at printing temperature, because both expand when hot.
It is slow, but reliable, and needs no extra hardware.
Assisted levelling
The printer’s firmware moves the nozzle to each adjustment point for you and, on some printers, tells you which way to turn each screw. You still make the adjustments, but it is quicker and more repeatable than doing it by eye.
Automatic levelling
A probe on the print head measures the height of the bed at several points before the print. The firmware then tilts the nozzle’s path to match the bed, rather than you moving the bed to match the nozzle.
Mesh levelling
Mesh levelling is automatic levelling with many more points. The probe measures a grid across the bed and the firmware builds a height map, then raises and lowers the nozzle during the first layers to follow the bed’s real shape. It compensates for a bed that is not perfectly flat, not just one that is tilted.
Even with automatic or mesh levelling, the bed still needs to be roughly level mechanically, and the Z offset (the gap between where the probe triggers and where the nozzle sits) must be set correctly. Most “auto levelling does not work” problems are actually a wrong Z offset.
Common bed levelling problems and fixes
The first layer is uneven across the bed
Lines are squashed flat and see-through in one area, and round, separate beads in another.
- Re-level with the bed and nozzle hot.
- Print a single-layer test square in each corner and the centre, and adjust until they all look the same.
- Clean the nozzle tip. A blob of old plastic stuck to it makes the paper test misleading.
One corner keeps going out
- Check that screw’s spring or spacer. Worn or soft springs let the bed drift; stiffer springs or solid silicone spacers hold it better.
- Check for anything under the bed: a trapped cable, a loose screw or debris.
- On printers with wheels running on rails, check for loose wheels or a gantry that is not square. The bed may be fine and the frame may be moving.
The middle is lower (or higher) than the corners
Corner screws can only tilt a bed. They cannot flatten one that is dished or bowed, so adjusting them to fix the centre just throws the corners out.
- Use mesh levelling if your printer supports it. This is exactly what it is for.
- Add a flat build surface, such as a glass plate or a quality spring steel sheet on a flat base.
- If the bow is severe, the bed plate may need replacing.
The bed is flat when cold but warped when hot
Many aluminium beds bow slightly as they heat up.
- Always level, and run any mesh probe, with the bed at the printing temperature.
- Let the bed heat soak for a few minutes before levelling or printing.
Levelling is perfect, but the first layer still fails
- Check the Z offset. A level bed with the nozzle too high still gives a first layer that will not stick.
- Clean the bed with isopropyl alcohol. Fingerprints stop filament sticking.
- Check the filament. Damp filament and partial nozzle clogs look a lot like levelling problems.
- Check the bed temperature and surface for the material. Our guide to ABS and other bed adhesion issues works through this.
The auto-levelling probe gives inconsistent results
- Make sure the probe is firmly mounted and its tip is clean.
- Some probes are affected by the bed surface or temperature. Probe at printing temperature, on the surface you print on.
- Re-run the mesh after moving the printer, changing the nozzle or changing the build plate.
A quick routine that prevents most problems
- Heat the bed and nozzle to printing temperature.
- Clean the nozzle tip and the bed.
- Level mechanically at the corners, or run the probe and mesh.
- Print a first-layer test pattern and adjust the Z offset while it prints.
- Re-check whenever you change the nozzle or build surface, or move the printer.
Be patient with it. Time spent getting the first layer right is time you do not spend on failed prints.
Or let someone else level the bed
If you need a part rather than a printing project, you can skip the calibration. Upload your model to our online 3D printing service, see the price in seconds, and we will print it and ship it anywhere in Australia.